Packaging and Zipping Files
When you create a document using InDesign, the actual InDesign file is only one piece of the puzzle. Any images, graphics or fonts used are linked outside that file. In order for others to open the file correctly by including those external files you must use InDesign's built in feature called packaging.
How to Package an InDesign File
- Open your file in InDesign.
- If possible, resolve any errors concerning missing links or fonts.
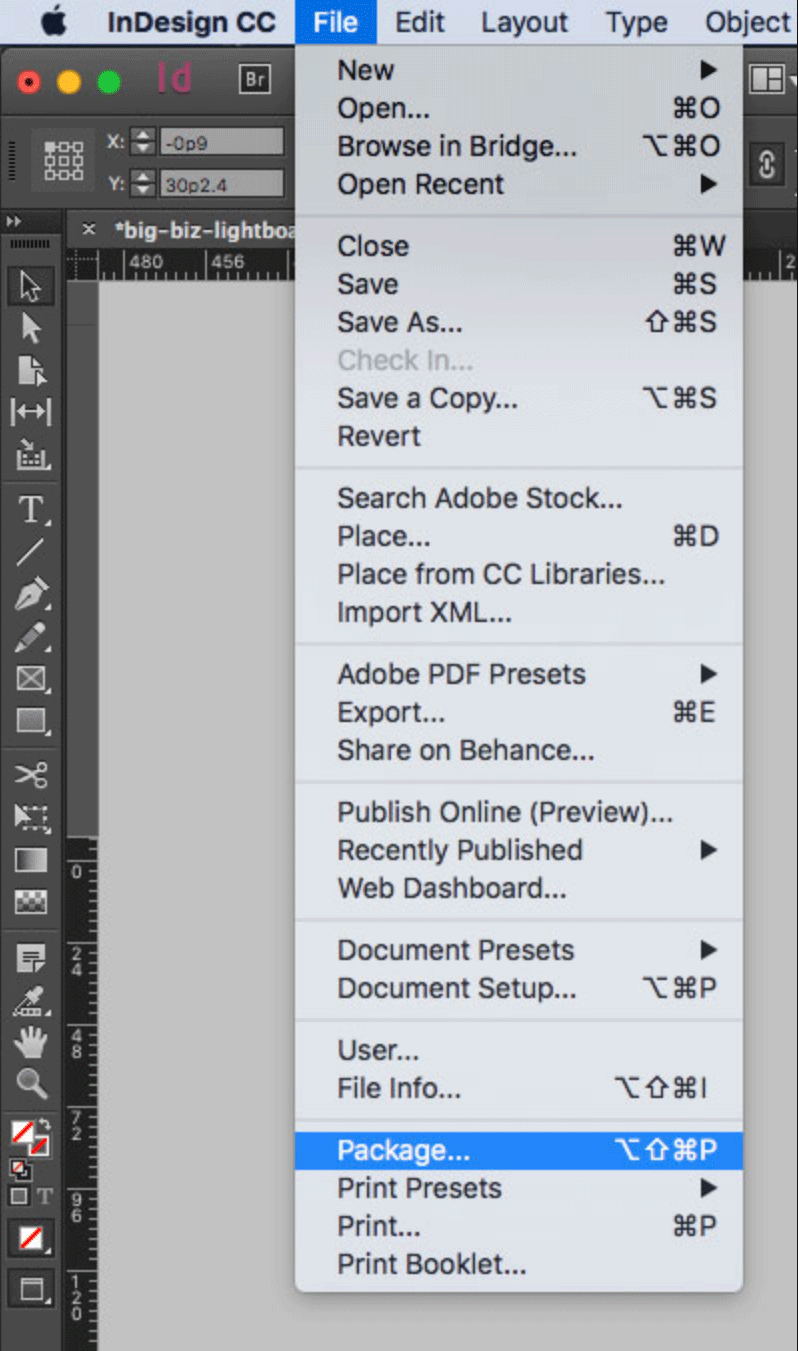
- Go to File > Package.
- Click the Package button at the bottom of the summary window.
- You will be asked to save your file.
- Click continue on the “Printing Instructions” window. We do not use the information on this page so you don’t need to fill it out.
- Browse to where you’d like to create the package folder (desktop would be fine) and enter the name of the folder. At the bottom of this window, make sure that the “Copy Fonts,” “Copy Linked Graphics,” “Update Graphic Links in Package,” “Include Fonts and Links from Hidden….”, “Include IDML” and “Include PDF” are all checked. Other boxes should be unchecked.
- Click the package button.
- Find the new folder that InDesign created and verify that it contains copies of all required files.
- Zip your files. (see “Zip/Compress” below)
How to Zip/Compress a Folder
If you have large and/or multiple files to include it is best to zip/compress them. Here are some instructions on how to do that:Mac: select the folder with your files in it and right click and choose “Compress”
Windows: select the folder with your files in it and right click. Choose “Send To”. Then choose “Compressed (zipped) Folder”.
We have an online tool to submit your order. You can use your ISU NetId to fill in the contact information and then specify the details of your project.
